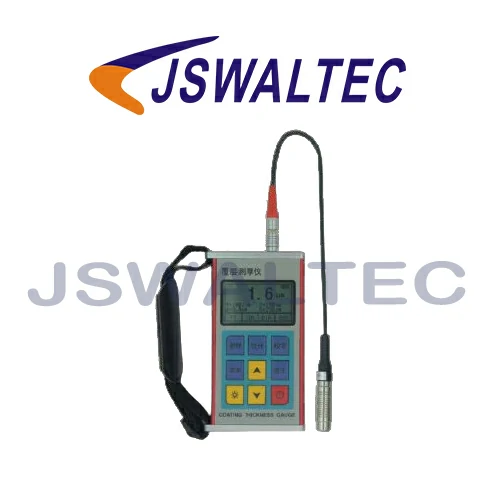
Convenient Coating Thickness Gauge
категории. Портативный твердомер и прибор
| Probe Model | F400 | F1/(F1/90) | F3 | F10 | N400 | N1 | N3 | |||
| Working Principle | Magnetic Induction | Eddy Current | ||||||||
| Measuring Range (μm) | 0 – 400 | 0 – 1250 | 0 – 3000 | 0 – 10000 | 0 – 400 | 0 – 1250 | 0 – 3000 | |||
| Low – limit Resolution (μm) | 0.1 | 1 | 10 | 0.1 | 0.5 | |||||
| One – point Calibration (μm) | ± 3%H + 1 | ± 3%H + 5 | ± 3%H + 10 | ± 3%H + 0.7 | 3%H + 1.5 | 3%H + 5 | ||||
| Two – point Calibration (μm) | ± 3%H + 0.7 | ± 3%H + 0.7 | ± 3%H + 5 | ± 3%H + 10 | ± 3%H + 0.7 | 3%H + 1.5 | 3%H + 5 | |||
| Minimum Radius of Curvature (mm) | bulge | 0.1 | 1.5 | Flat | 5 | 10 | bulge | 1.5 | 3 | |
| Minimum Area Diameter (mm) | Φ3 | Φ7 | Φ20 | Φ40 | Φ4 | Φ5 | ||||
| Critical Substrate Thickness (mm) | 0.2 | 0.5 | 1 | 2 | 0.3 | |||||
| Coating
Substrate |
Non – magnetic organic material coatings (e.g., paint, lacquer, enamel, porcelain enamel, plastic, anodizing, etc.) | Non – magnetic non – ferrous metal coatings (e.g., chromium, zinc, aluminum, copper, tin, silver, etc.) | |||
| Coating thickness not exceeding 100μm | Coating thickness exceeding 100μm | Coating thickness not exceeding 100μm | Coating thickness exceeding 100μm | ||
| Ferromagnetic metals such as iron and steel | Measured area diameter greater than 30mm | F400 probe: 0 – 400μm F1 probe: 0 – 1250μm |
F1 probe: 0 – 1250μm F3 probe: 0 – 3mm F10 probe: 0 – 10mm |
F400 probe: 0 – 400μm | F400 probe: 0 – 400μm F1 probe: 0 – 1250μm F3 probe: 0 – 3mm F10 probe: 0 – 10mm |
| Measured area diameter less than 30mm | F400 probe: 0 – 400μm | F400 probe: 0 – 400μm F1 probe: 0 – 1250μm |
F400 probe: 0 – 400μm F1 probe: 0 – 1250μm |
F400 probe: 0 – 400μm F1 probe: 0 – 1250μm |
|
| Non – ferrous metals such as copper, aluminum, brass, zinc, tin | Measured area diameter greater than 5mm | N400 probe: 0 – 400μm | N400 probe: 0 – 400μm | Only for chromium plating on copper N400 probe: 0 – 40μm |
|
| Measured area diameter less than 7mm | N400 probe: 0 – 400μm | N400 probe: 0 – 400μm N3 probe: 0 – 3μm N1 probe: 0 – 1250μm |
|||
